
Having an online booking system makes it easier for you to sell your services and get customer traction so as to generate good income and increase brand awareness.
Now if you are looking to approach a technical geek to develop your booking system, you might once consider using SaaS technologies for the best.

A not-so-new domain in the market, SaaS technologies have taken over traditional ways of how are developing and using the services. An internet-connected handheld device is what it requires to access SaaS software and make use of it.
One such SaaS booking platform is Booking Commerce that allows you to create your own free booking system regardless of your profession and enrich the booking experience for your customer.
So what all it takes to create your own booking system, stay with us as we guide you to create a one:
Registration Process
At first, you need to go on booking commerce website to complete the registration process in order to move forward.
- Go to www.bookingcommerce.com
- On the top right-hand corner, click Create Booking.
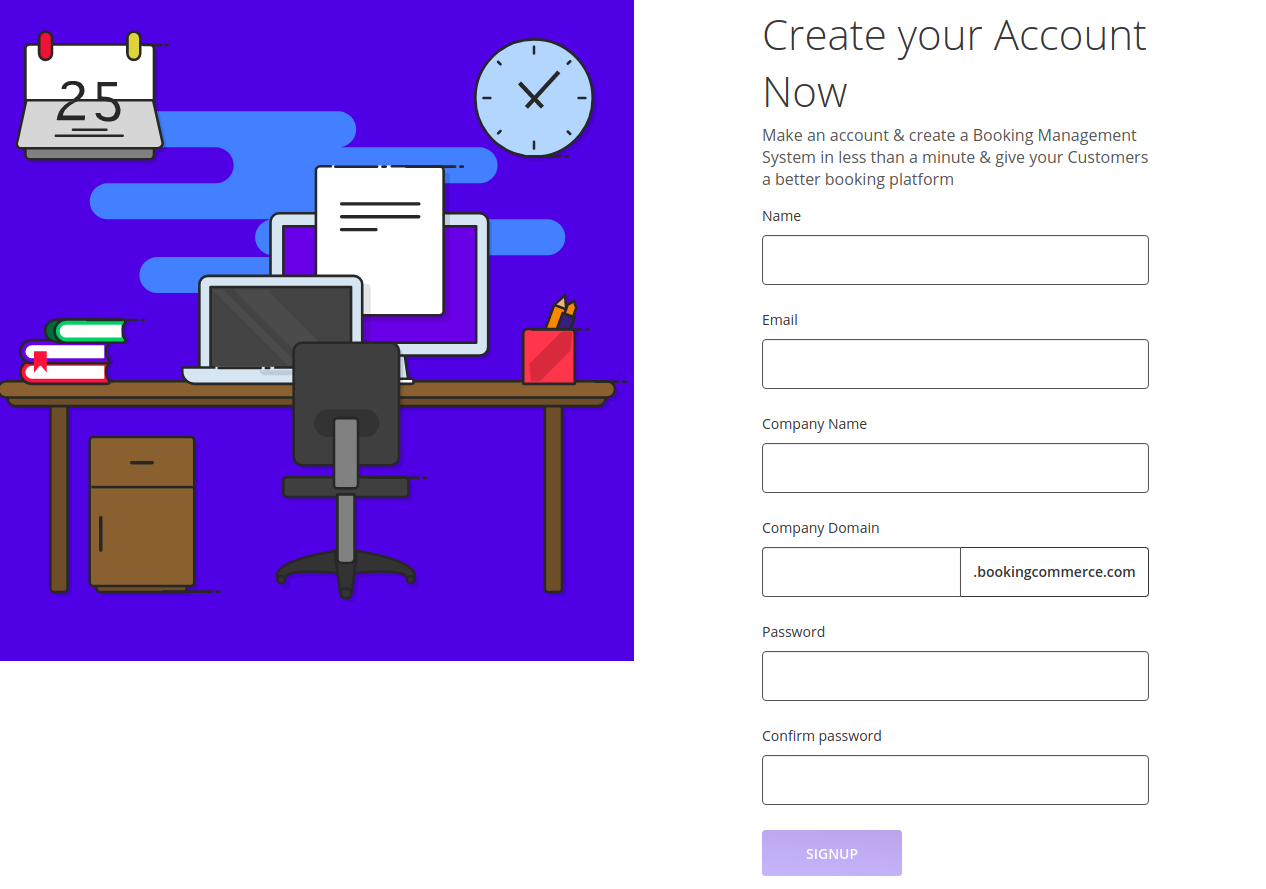
- Fill up the necessary fields regarding yourself during the registration process.
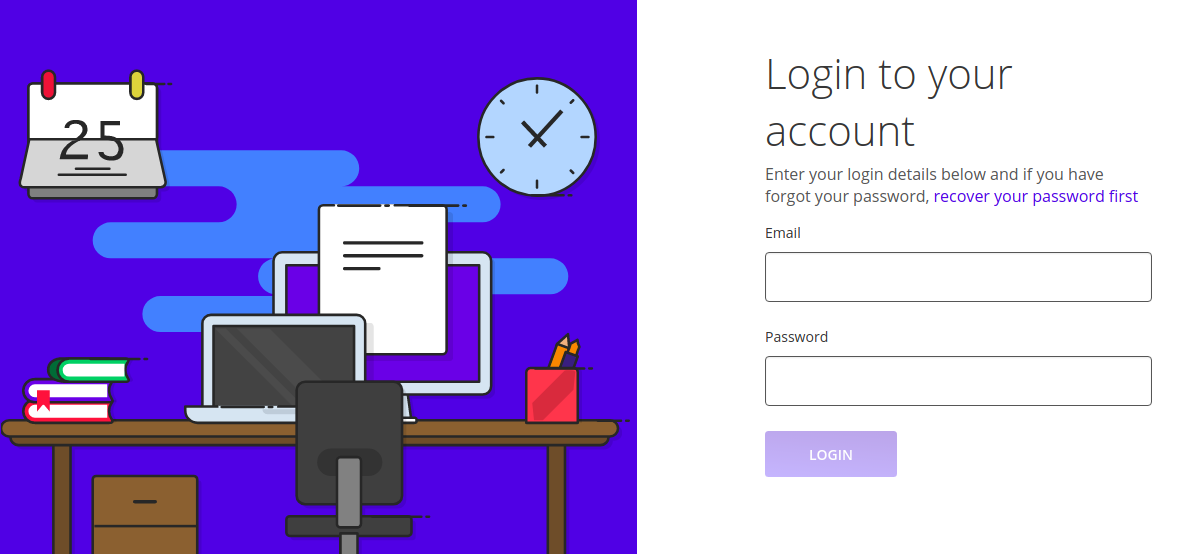
- Once Signed Up, you need to enter email and password given in the previous step to enter into the booking commerce dashboard.
Booking Commerce Configuration
Now you need to configure your booking commerce dashboard about what information you want to show to the customers and set permission.
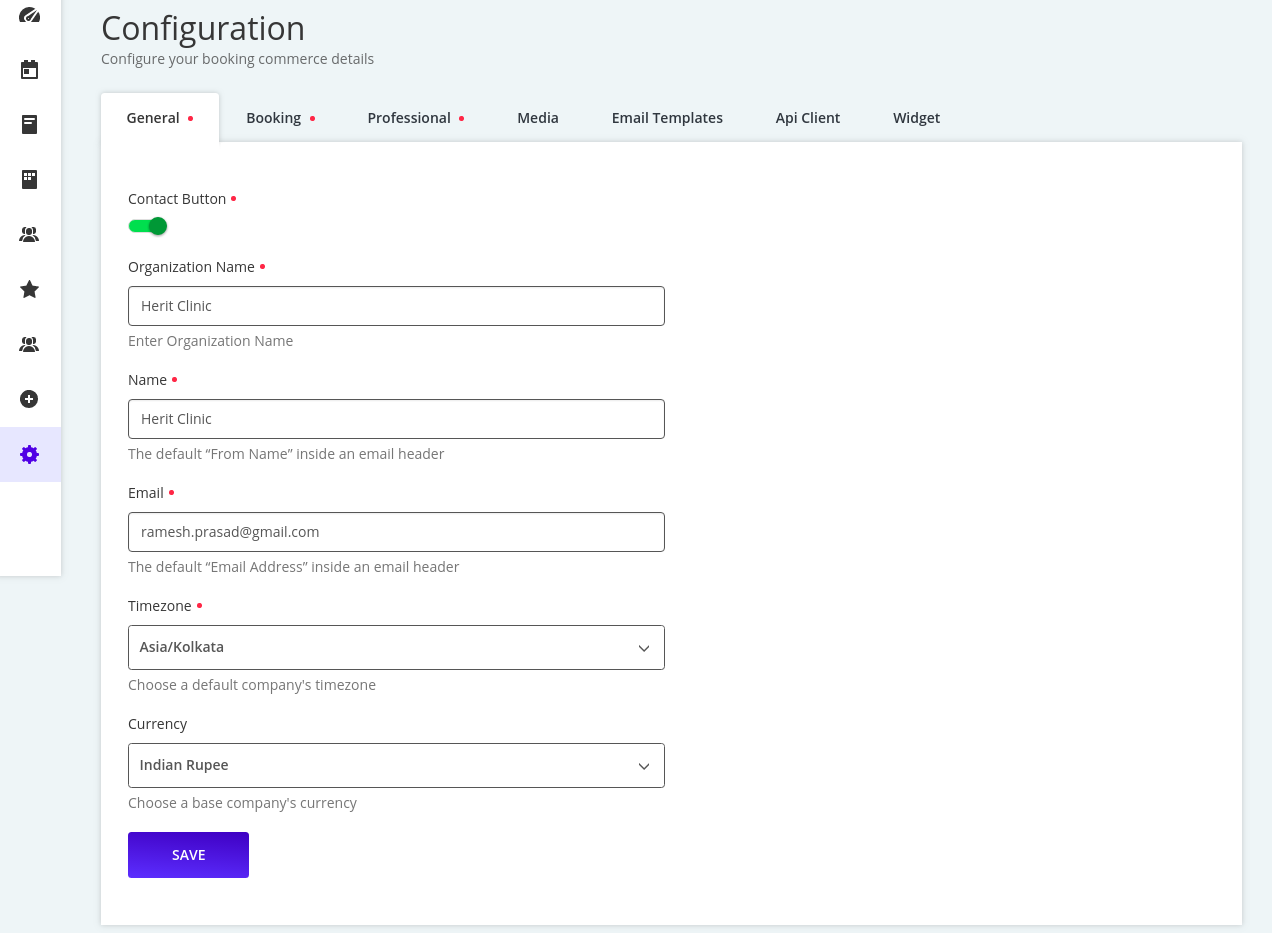
- Go to Configuration which is at the bottom of menu options on the left-hand side. Here you have to basic setting for your booking website and provide information.
- Under the General tab, you need to provide the Organization name, timezone and currency in which you will be dealing.
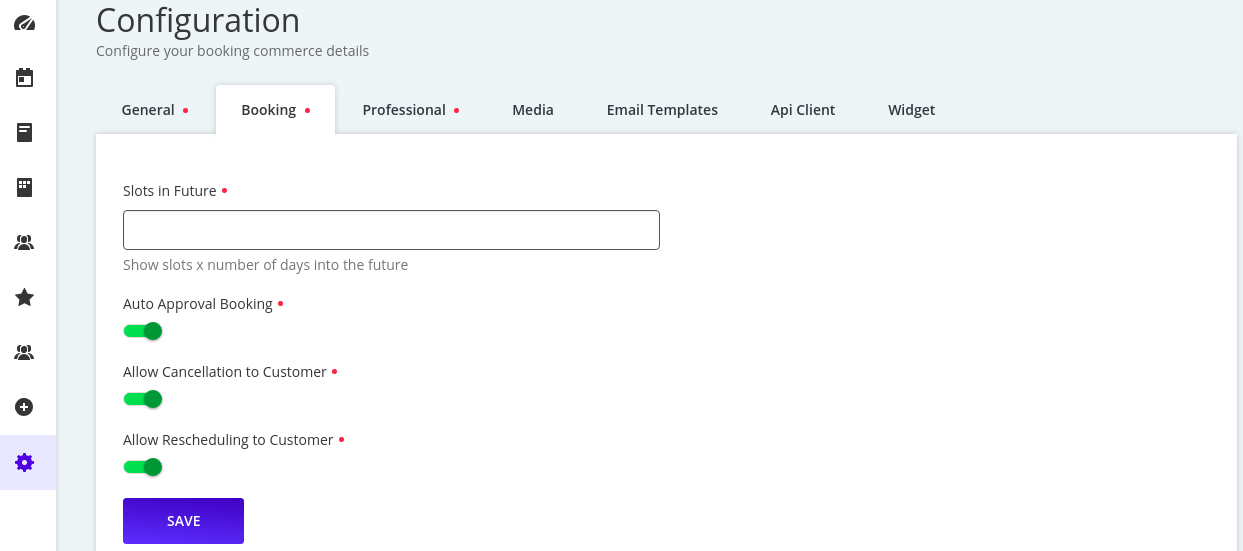
- Next, in Booking Tab, you need to select the number of slots you want to show available slots for booking. You can also provide permission for auto approval, cancellation and rescheduling to the customer.
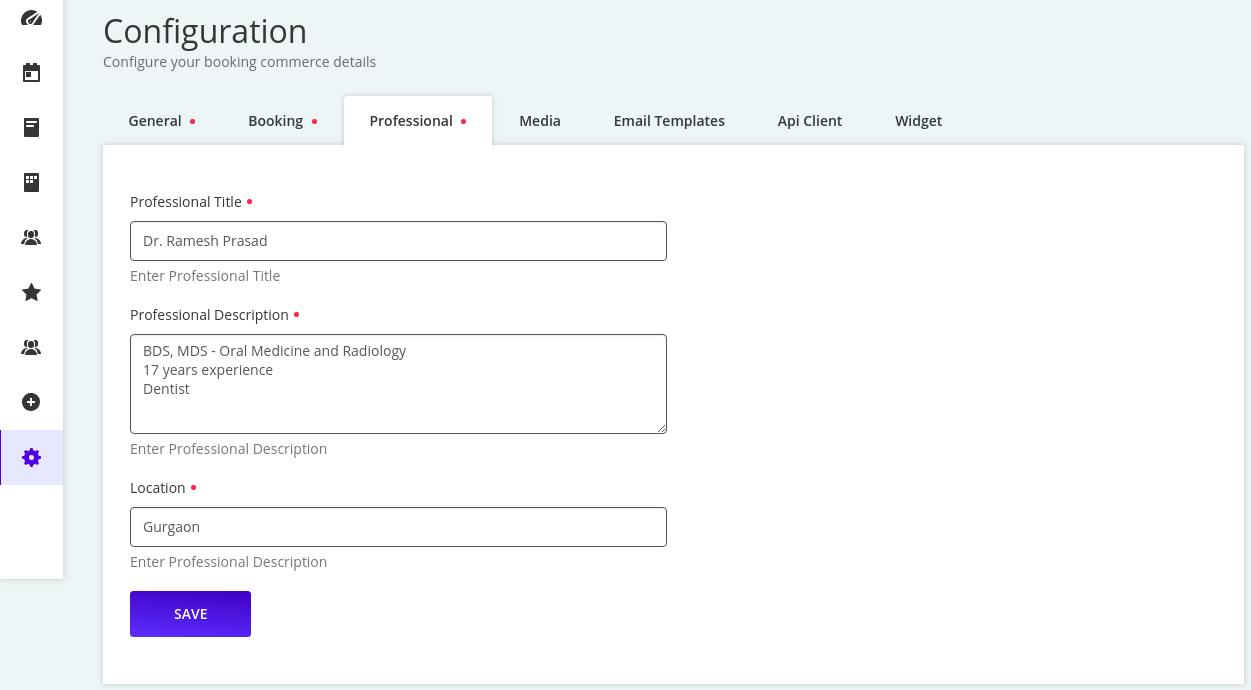
- Under Professional tab, enter your professional details along with the location.
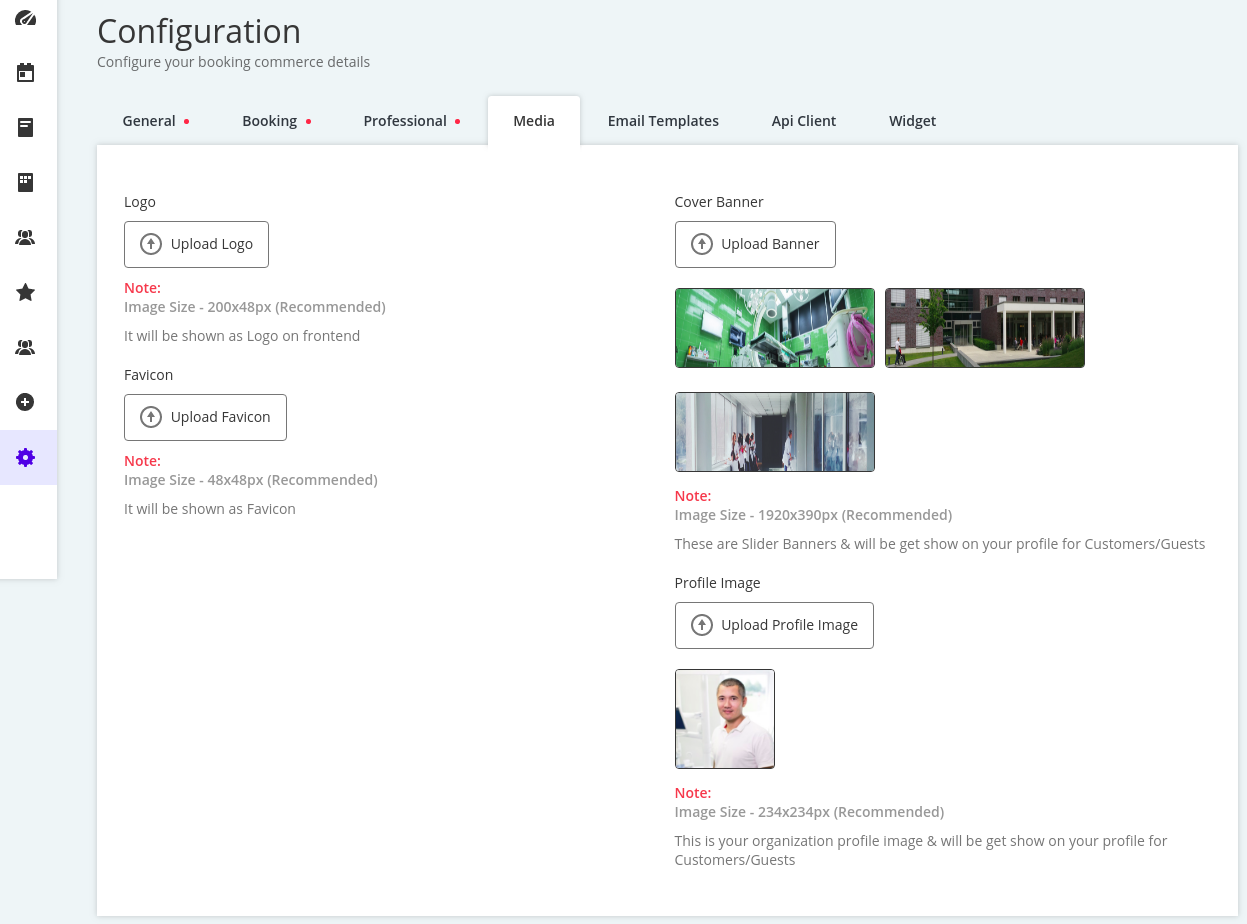
- Next, in Media tab, you need to upload the logo, banner of your organization and your image of given resolution.
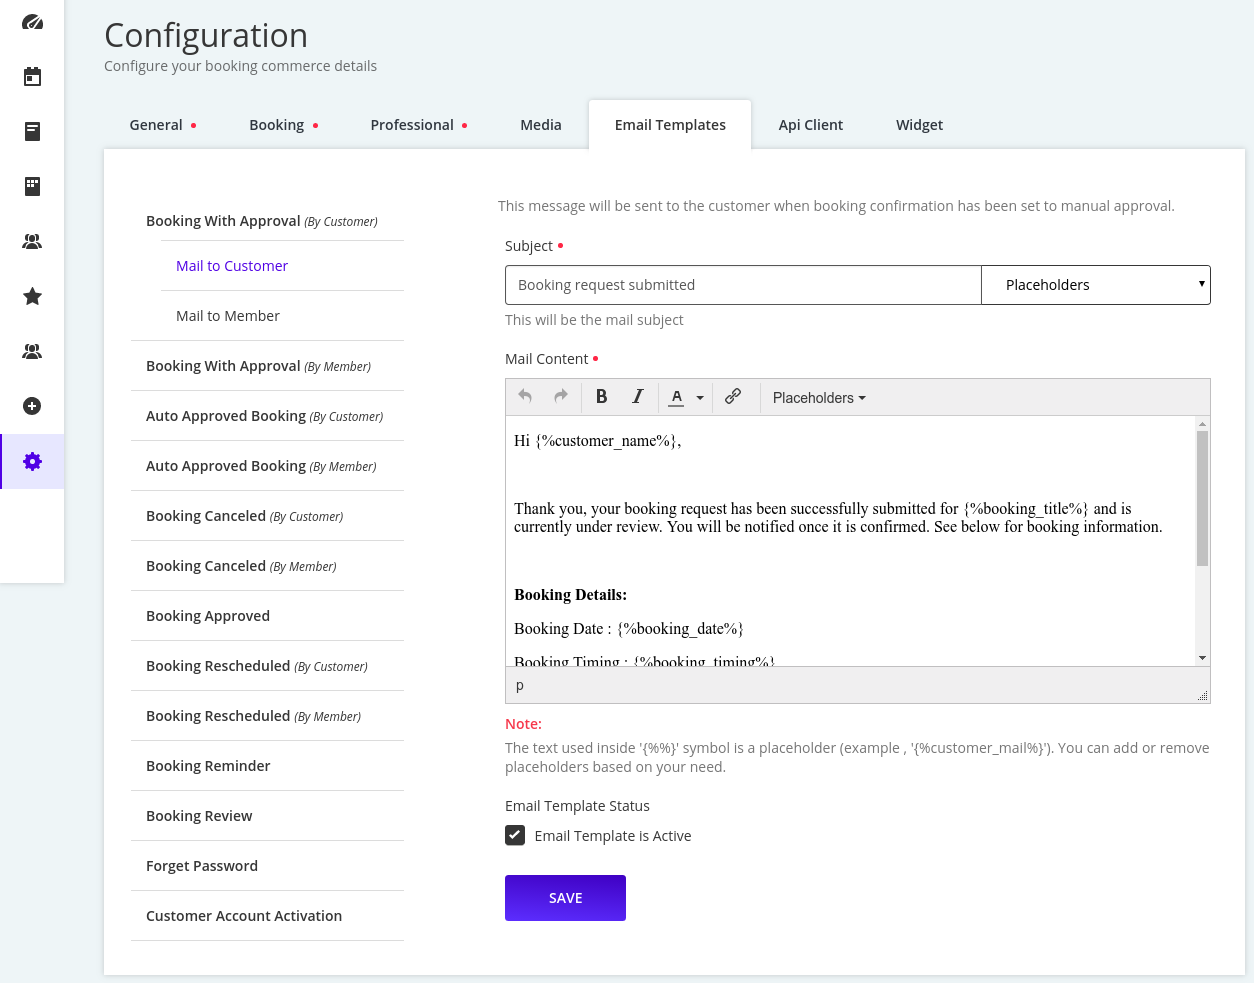
- Booking Commerce comes with pre-defined Email Templates. You can customise the email templates with associated placeholders as per your choice.
- If you want to integrate booking commerce with other platforms, you can get the Client ID and Client Secret from API Client and use that for integration.
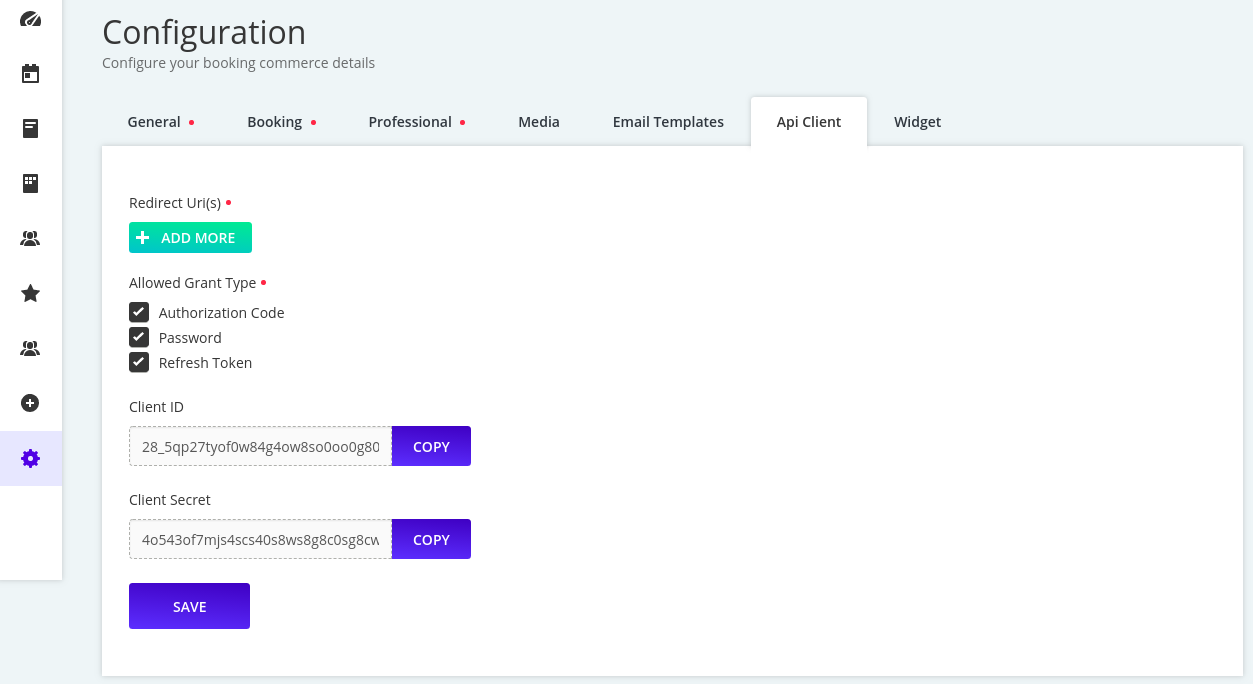
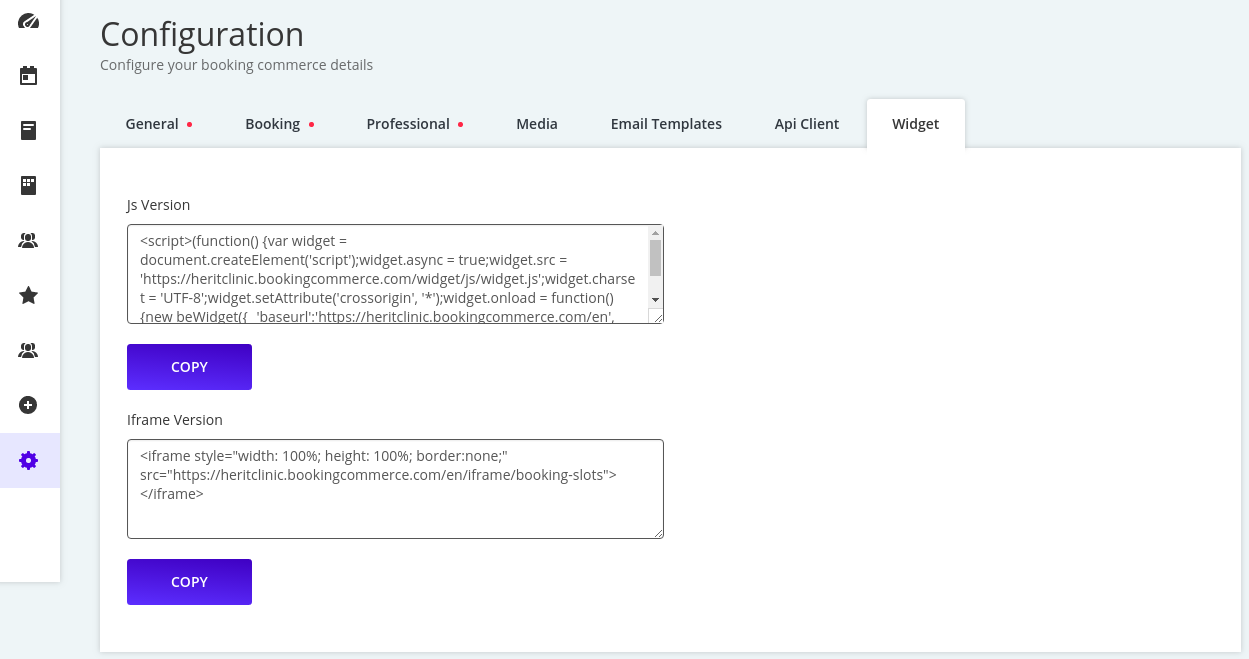
- If you have your own website and you can integrate Book Now widget or Booking iframe, you can copy the .js or iframe version code and paste on the page where you want the widget to appear.
Booking Products
Here you need to describe the services that you are offering and what particular days. You can add an unlimited number of free and paid booking products.
- Now you need to head on to create Booking Products or the Services that you offer. You need to click on Booking Products, which is second on the menu option from the top at the left-hand side.
- On Booking product option, you can see a sample booking product already being added. You can either edit that booking product or add new booking product.
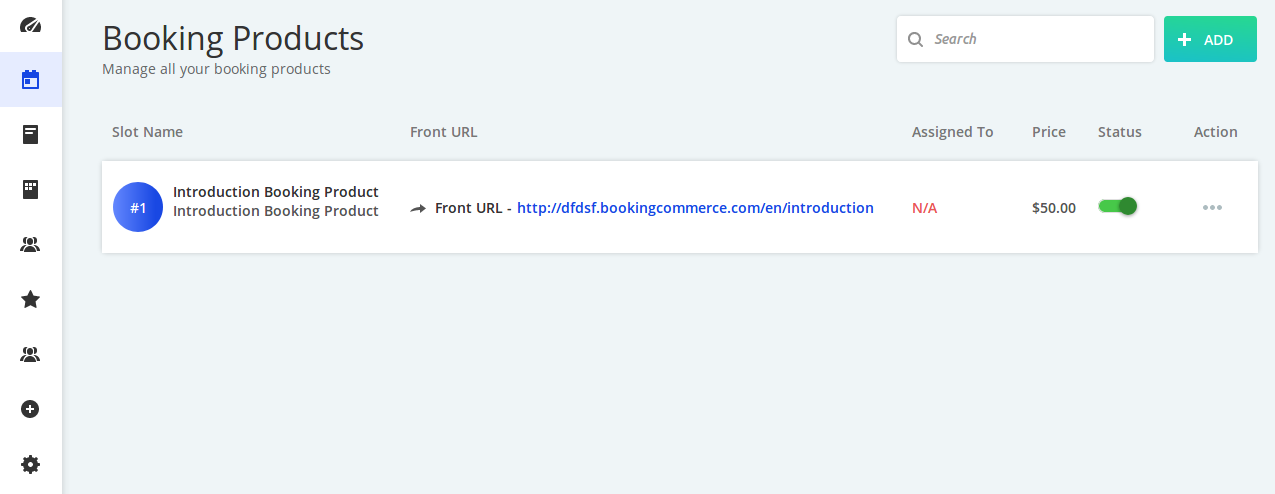
- To add new booking product, click Add.

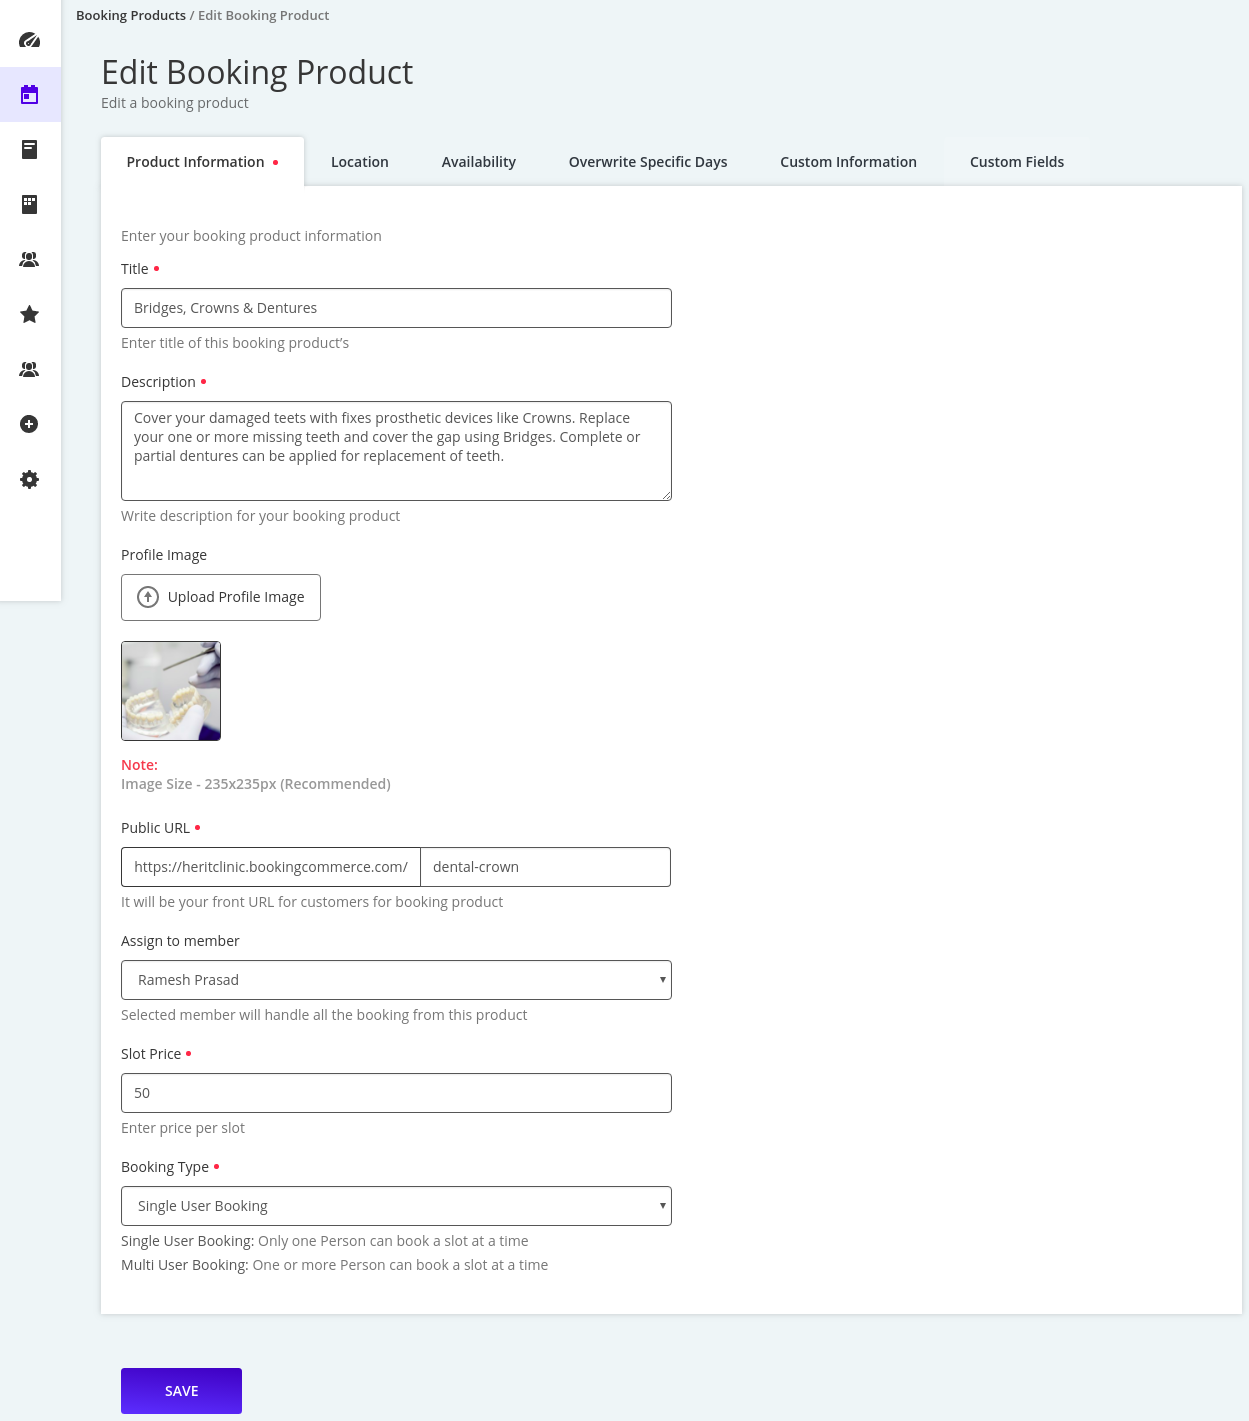
- Under Product Information, you have to enter details about the services, assign that to any particular agent, slot price you want to keep and the type of booking you will take, either single-user or multi-user. In Public URL, you can add a relevant name that would appear to your customer.
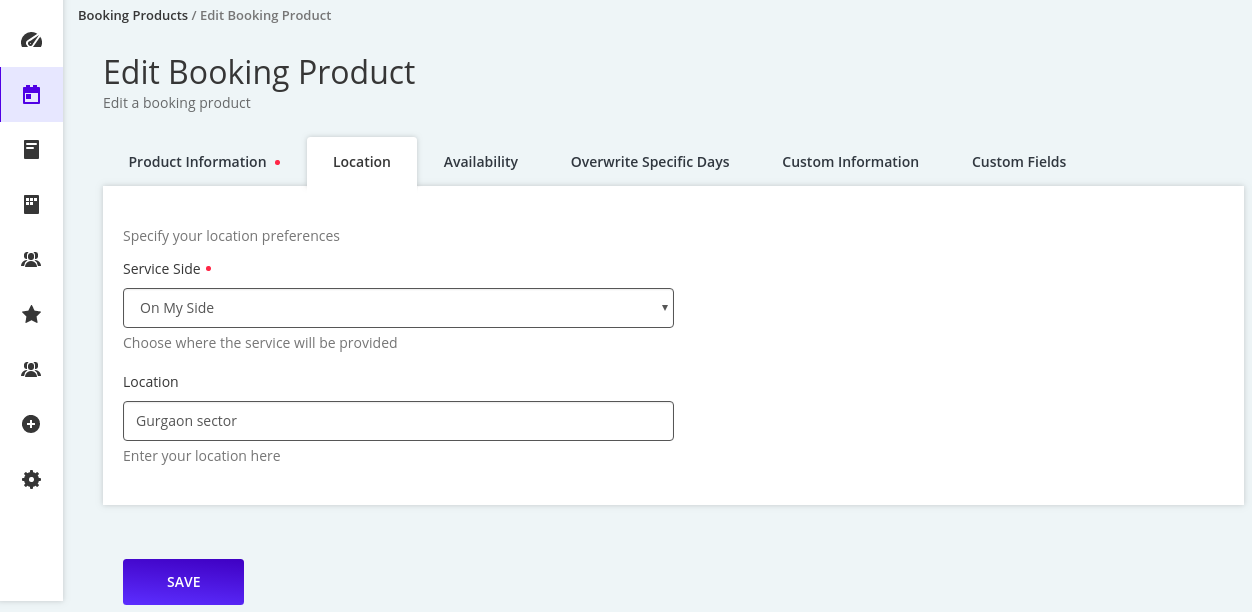
- Under Location tab, you need to provide location address and service side regarding your service delivery location.
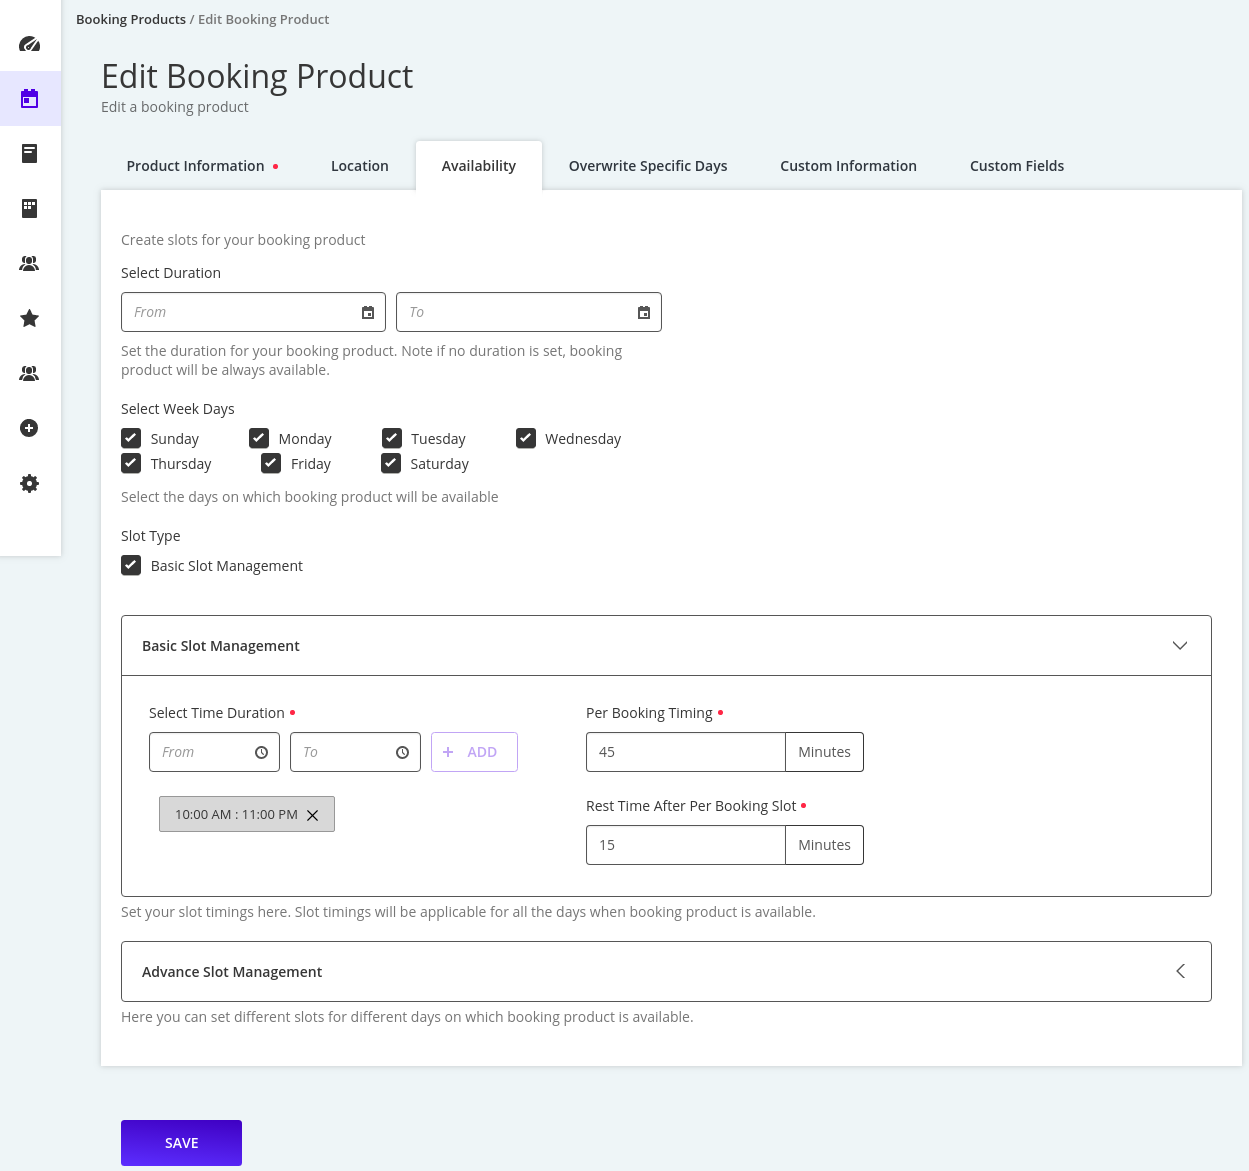
- Under Availability, you need to provide available days of your service. Now you can either set duration(From and To dates) on which your service will be available or if you will not select that, your availability remains open for all seven days. On weekdays, you can select the day or days on which your services are open.
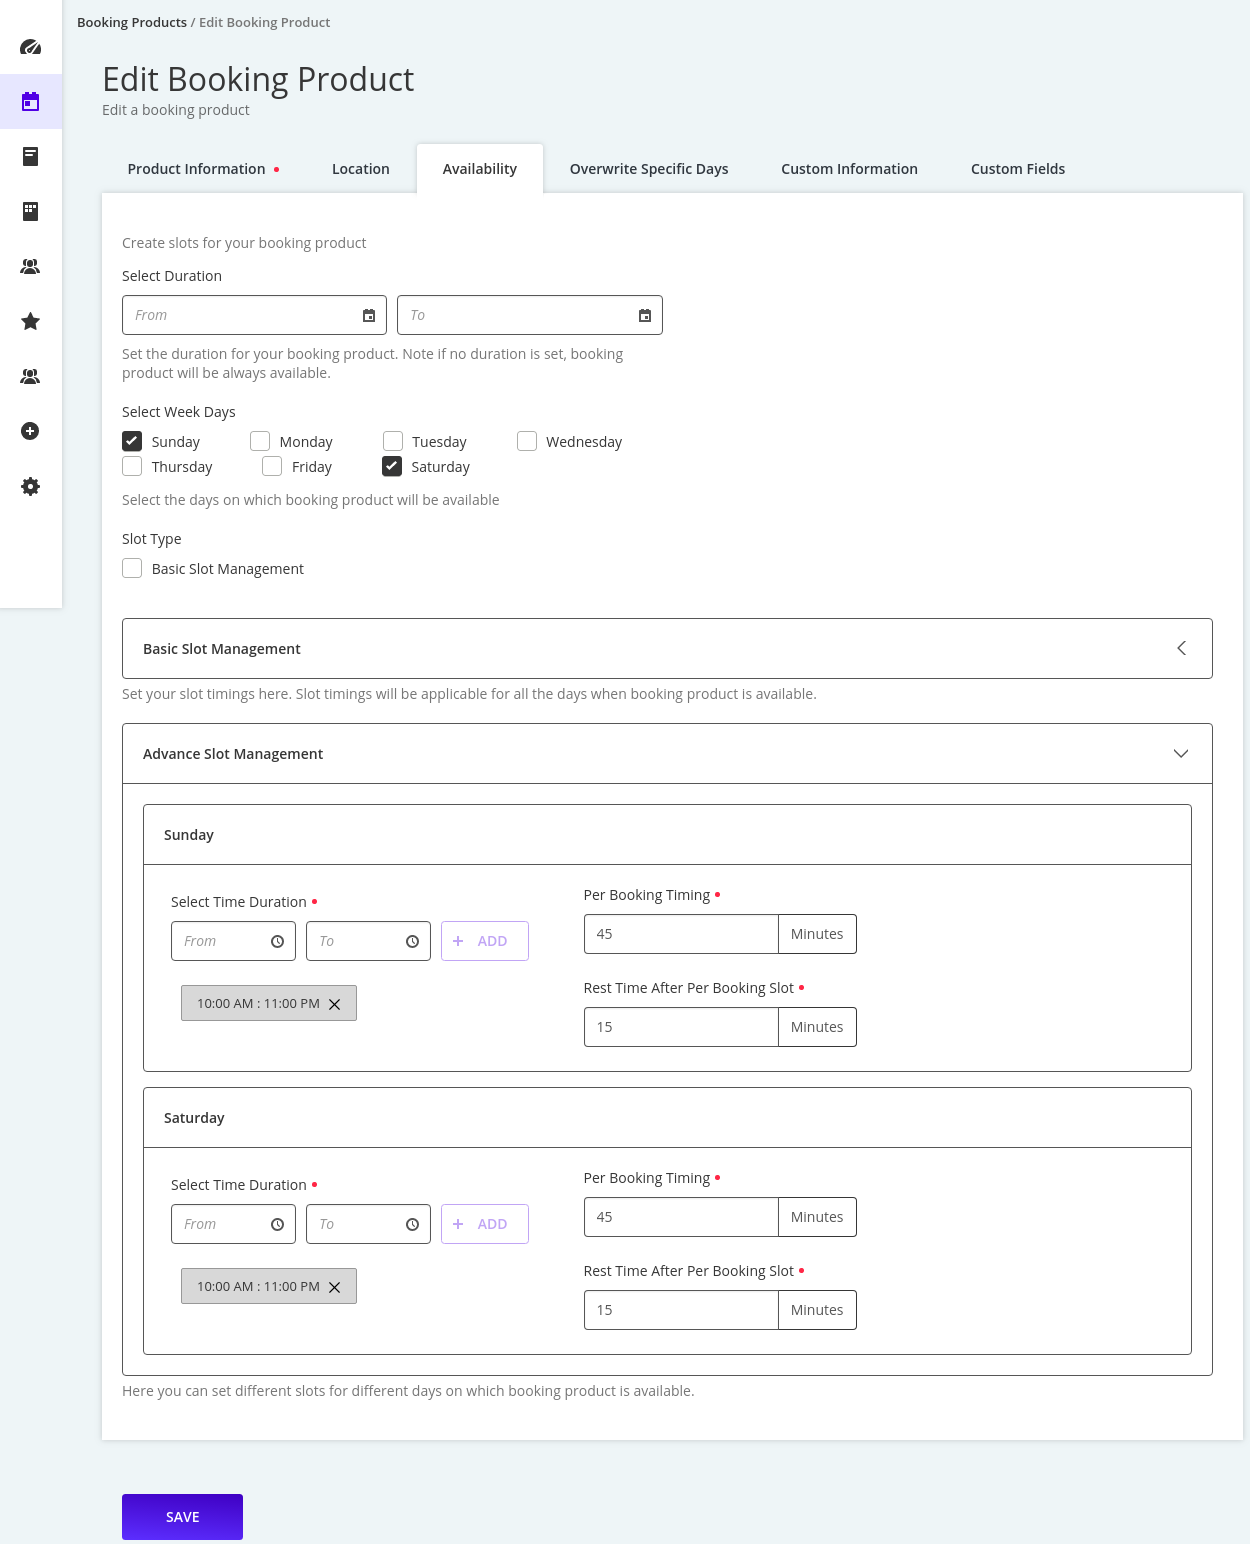
In Slot management, there is two option
- Under Basic slot management, you can set timings which will be applicable for the weekdays selected above.
- In Advance slot management, you can define same or different timings for any given weekday.
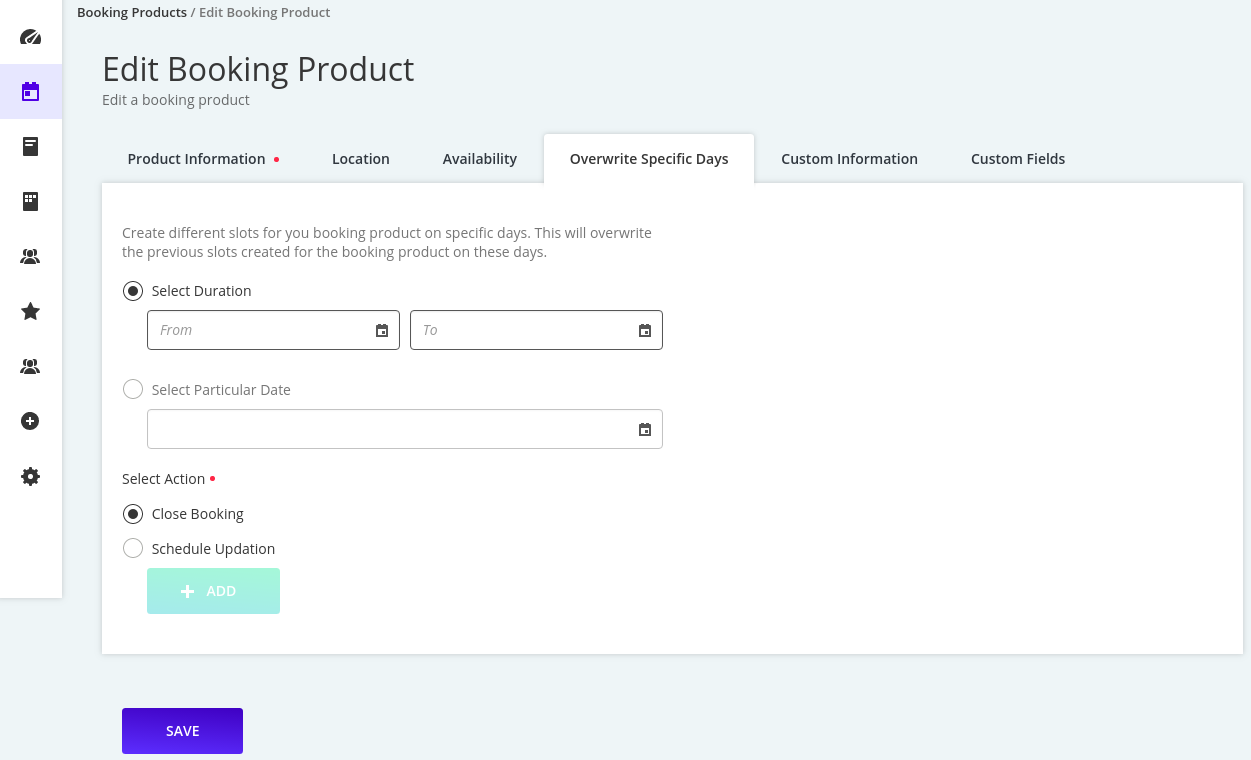
- In Overwrite Specific Day section, you can change the booking date. You can choose to cancel bookings for that particular day or schedule booking for another date using schedule updation option.
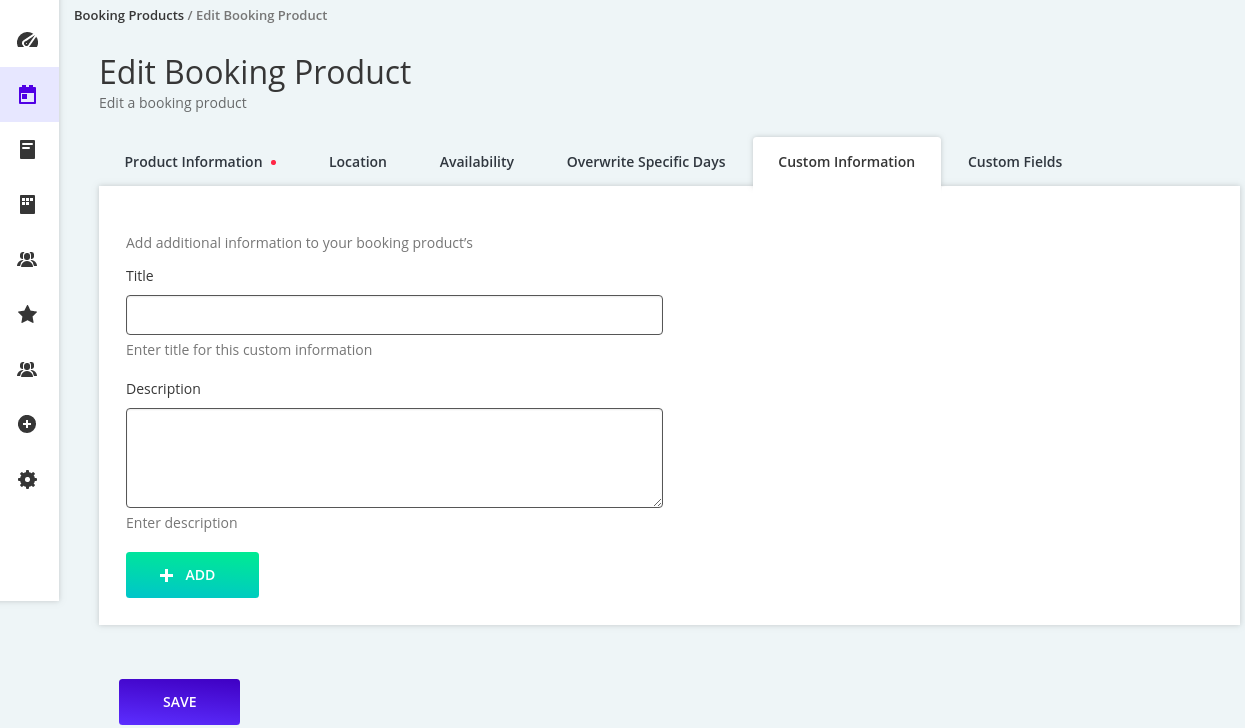
- Under Custom Information field, you can add custom information you want to show to the booking product.
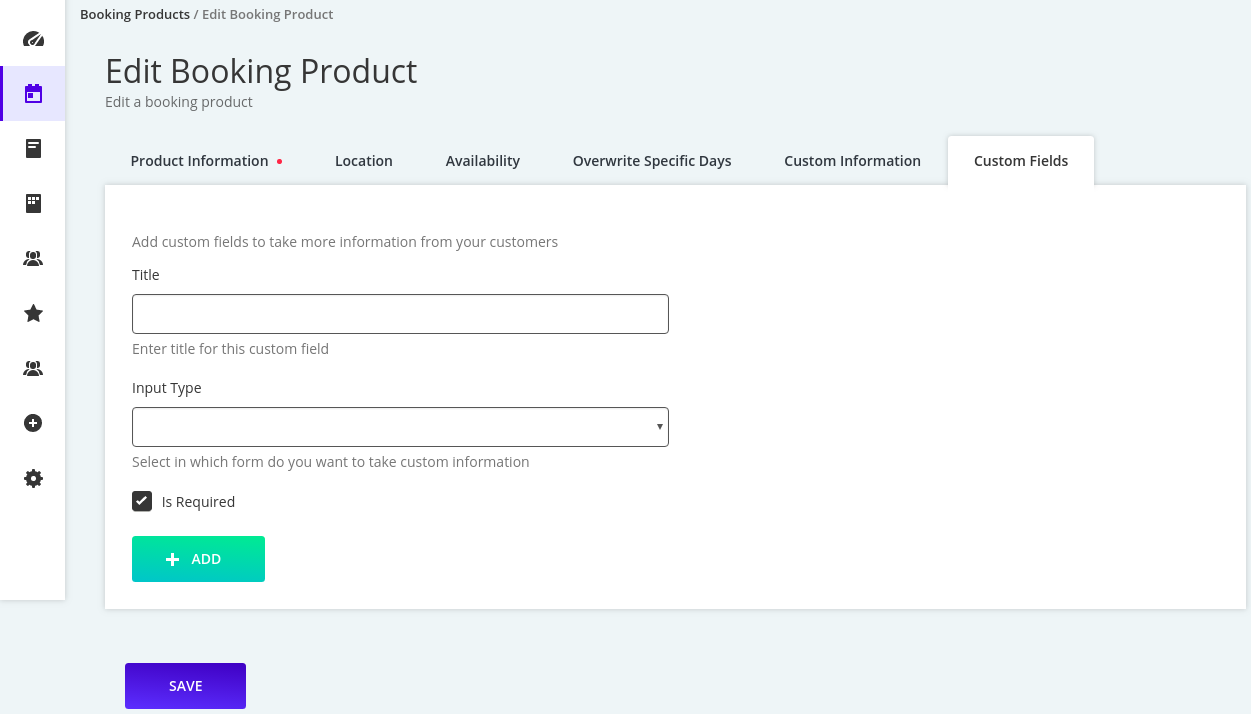
- If you need some additional information from your customer, you can add a separate field for that under Custom Fields option.
- Now your booking product has been successfully created. To check the booking page, you can visit the URL which is on the side the booking product.
Add-Ons
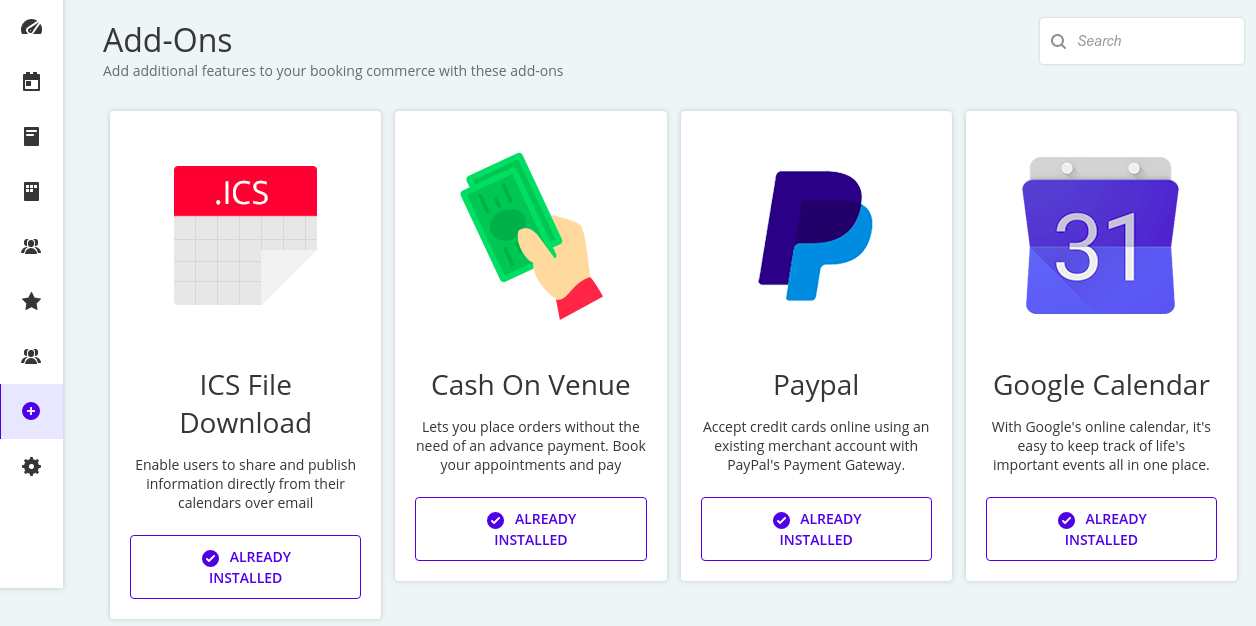
There are few add-ons in booking product which can improve the booking experience for the customer.
- Go to Add-Ons option which is second from bottom on the left-hand side menu option.
- To provide customer to add an event to their calendar you can install Google Calendar and Download ICS File add-on. In order to facilitate online payment, you can install PayPal add on to your booking commerce dashboard. For those who want to make payment at your physical location, you can provide Cash On Venue option to them.

Be the first to comment.